Your first user in ten minutes
This page takes you from a connected node to a first customer whose app connects. You need a finished setup and one node that shows Connected (Add a node).
A user gets a working link once five things exist, in this order: an Inbound, a Template that carries it, a node running that template, and a User who belongs to it. The dashboard's Getting started card tracks the same steps.
1. Create an inbound from a preset
An inbound is the protocol and port your users connect to.
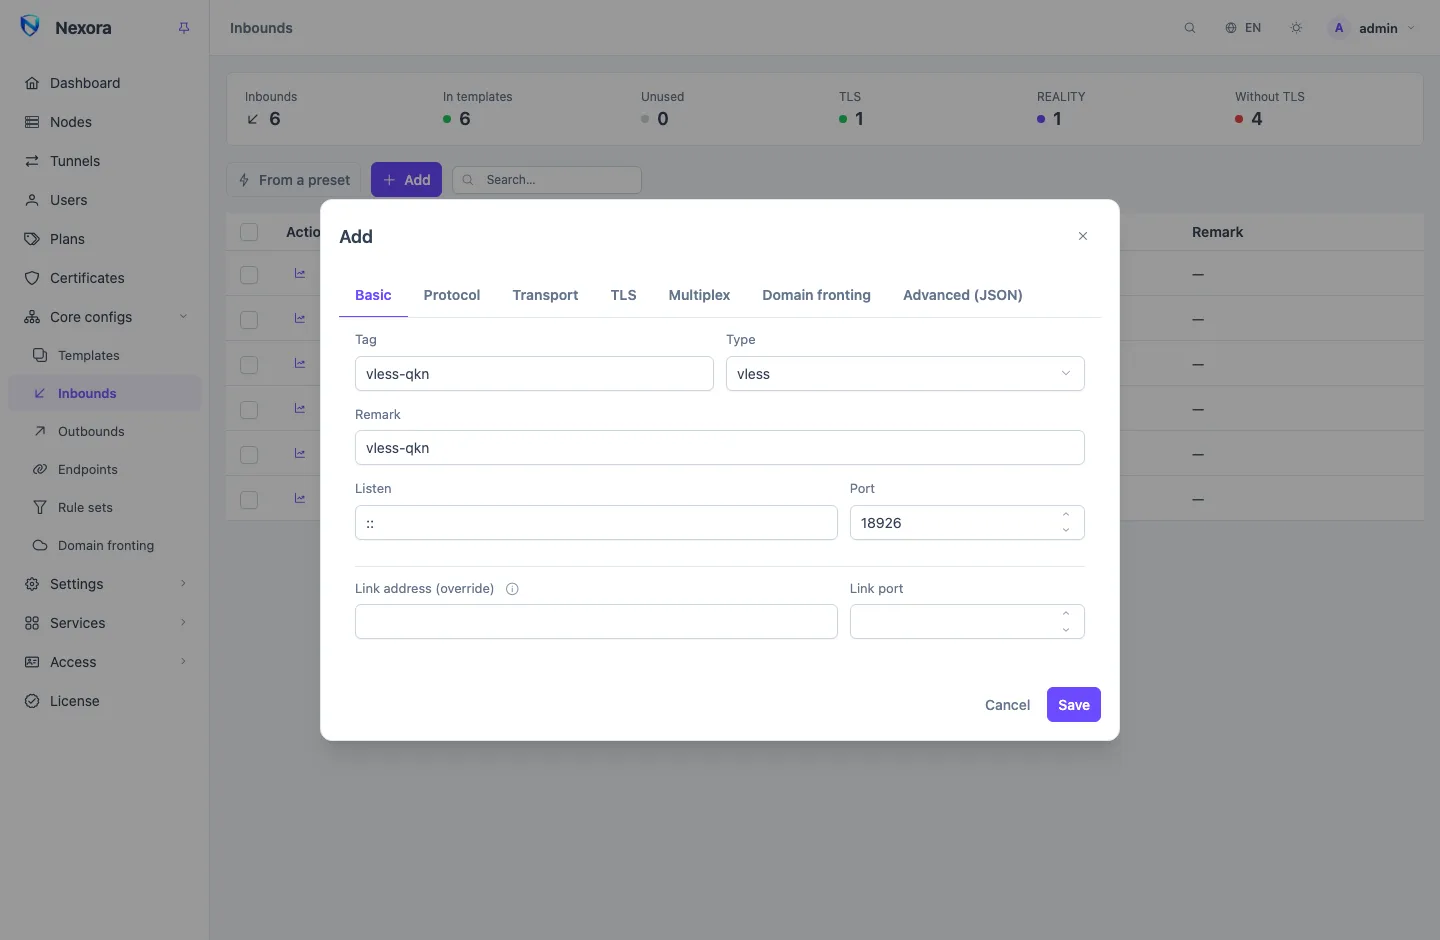
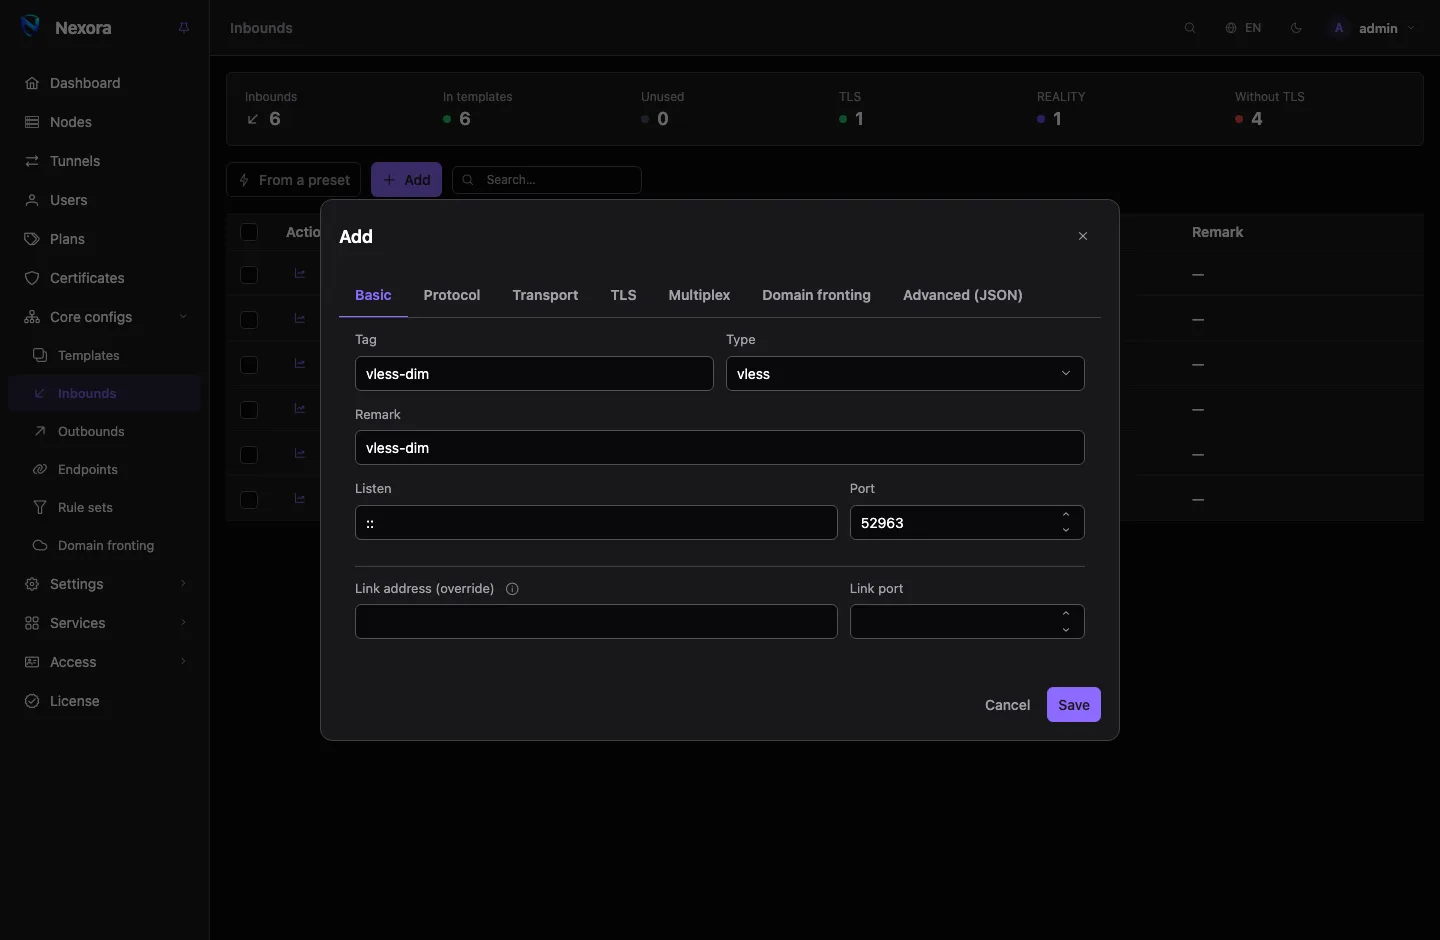
- Open Inbounds and press From a preset.
- Pick VLESS + REALITY. It is the usual first inbound: it works without a domain or a certificate of your own.
- The ordinary inbound form opens, already filled in. Nothing is created yet. Check the port; the rest can stay as the preset set it.
- Save. The panel makes the REALITY key pair and short IDs itself, so there is no key to generate or paste.
Every field stays editable later, and nothing remembers which preset made the inbound. Other presets and every option are in Inbounds; the protocol itself is in VLESS with REALITY.
2. Put it in a template
A template is what a node serves: inbounds, outbounds, endpoints and routing.
- Open Templates and add one. Give it a Name.
- Under Inbounds, select the inbound from step 1.
- Save.
The routing and DNS tabs can wait. See Templates when you need them.
3. Give the node its template
- Open Nodes and edit your node.
- Pick the template in Template (inbounds + outbounds + endpoints + routing).
- Save, and wait for the node to show Connected again.
Until it has a template, a node serves nothing. Now open the inbound's port in the node server's firewall, if one is running.
4. Create a user
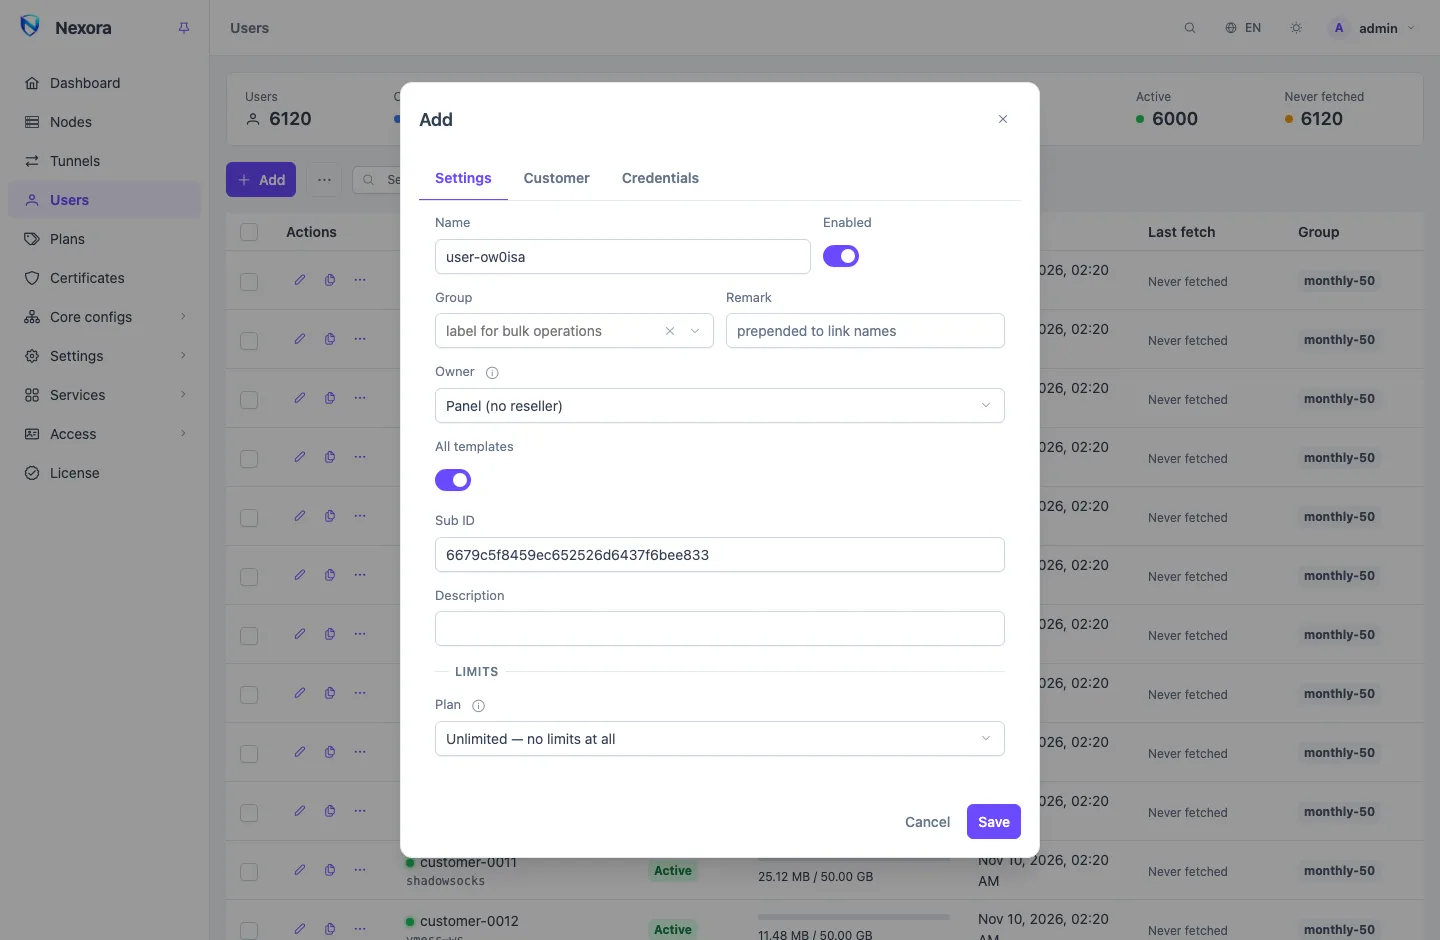
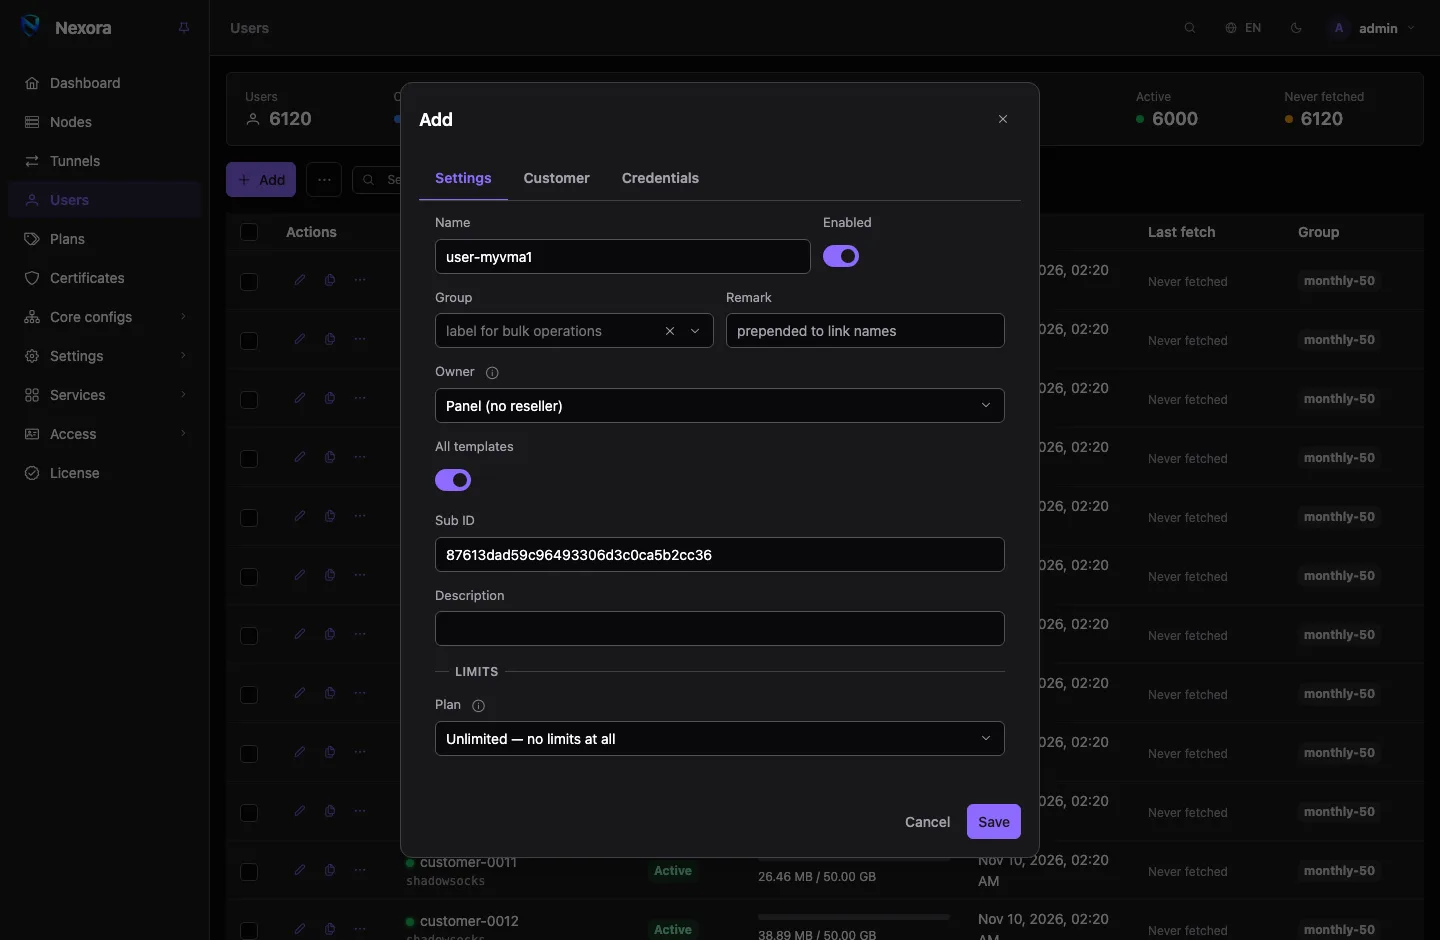
- Open Users and add one.
- Give it a Name. Set a Volume in GB (0 is unlimited) and an Expiry, or tick Start on first connection and give a Plan length (days), so the time starts when the customer first connects.
- Leave Templates at All templates. A new user reaches every template by default.
- Save. The credentials are generated for you.
Plans, limits and everything else on this form are in Users.
5. Send the link to an app
On the user's row, open QR / Links.
- Subscriptions holds the user's Subscription address and its QR code. This is what you normally hand out: the app fetches it again on its own, so later changes reach the customer without a new link.
- Links holds one share link per entry, for an app that takes single links.
Import it into an app:
| App | Platform | How |
|---|---|---|
| v2rayNG | Android | the + menu, import from clipboard, or scan the QR code |
| Hiddify | Android, iOS, desktop | add a profile from the clipboard or a QR code |
| Streisand | iOS | add from the clipboard or a QR code |
| SFA (sing-box for Android) | Android | add a remote profile with the subscription address |
Opened in a browser, the subscription address shows the user's subscription page with their usage and import buttons. The details are in Subscriptions and the subscription page.
Two things that look like a broken link
- In v2rayNG and other Xray-based apps, Mux must stay off. With it on, the connection silently fails.
- v2rayNG updates only the subscription group on screen. Select the new group's tab first, then update.
6. Check it connects
Connect in the app and open a web page. Back in the panel, the user's row shows traffic within a minute, and the node's Connections list shows the open connection.
If it does not connect, see Troubleshooting.