
Add a node
A Node is the server your users connect to. It keeps no database and no settings of its own: the Panel tells it everything. You add the node in the panel first, and the panel then gives you the command that installs it.
Before you start
- A Linux server with systemd, or with Docker. amd64, arm64, armv5/v6/v7, 386, s390x and riscv64 are all supported.
- Root, or a user with sudo.
- TCP port 62050 reachable from the panel, over IPv4 or IPv6.
- The ports the node's inbounds will use. You choose those in the panel later.
A node needs no licence key of its own. The panel's licence decides how many nodes it drives.
Install with the panel's command
Open Nodes and add a node. Give it a Name and its Address, the IP or domain the panel reaches it at. Leave Port at 62050.
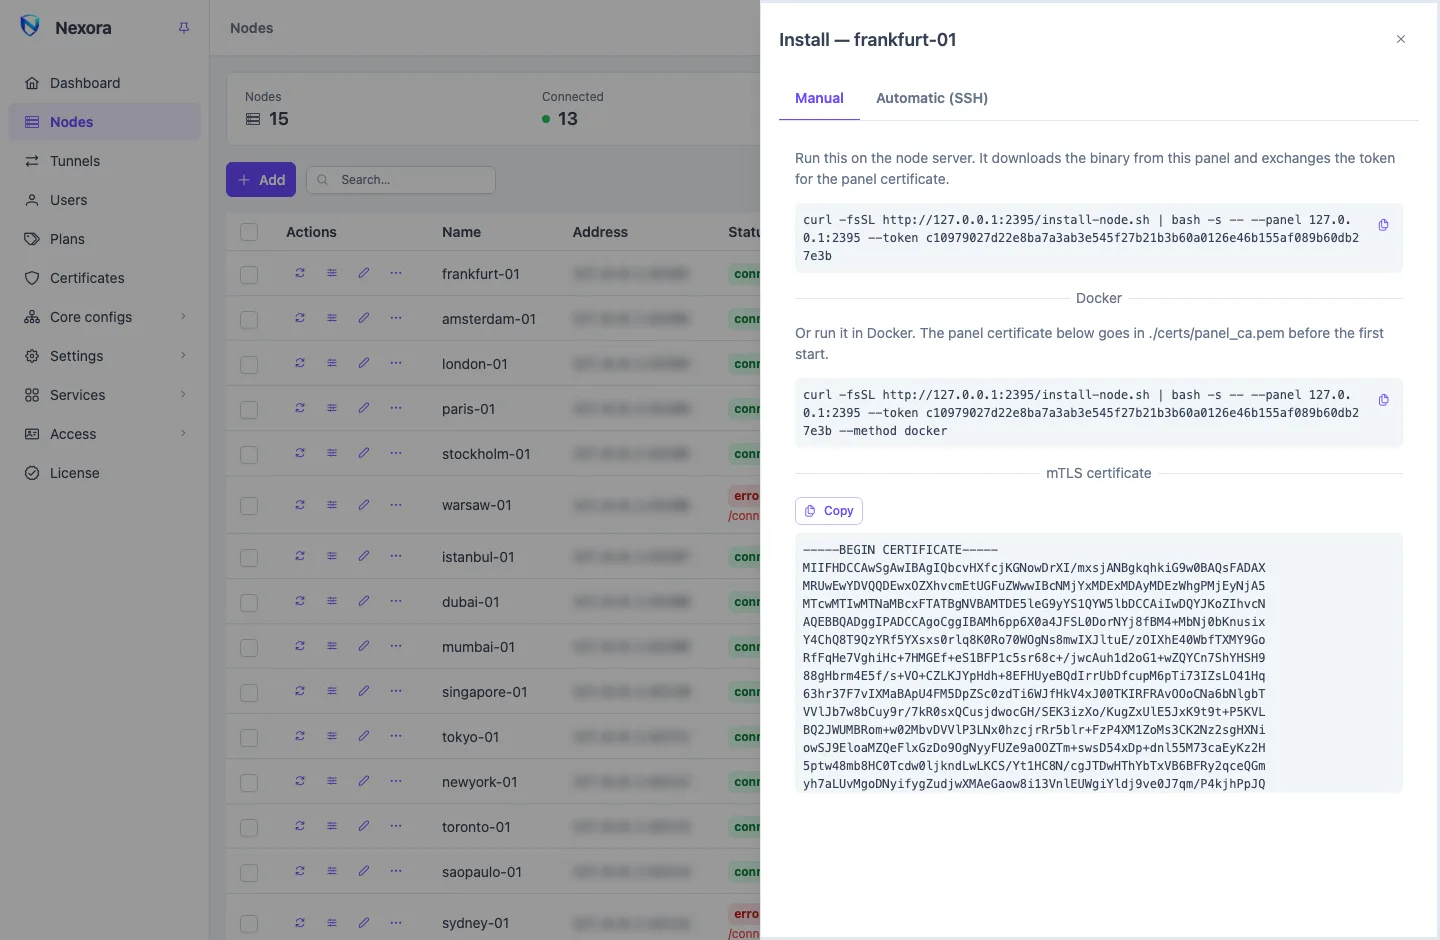
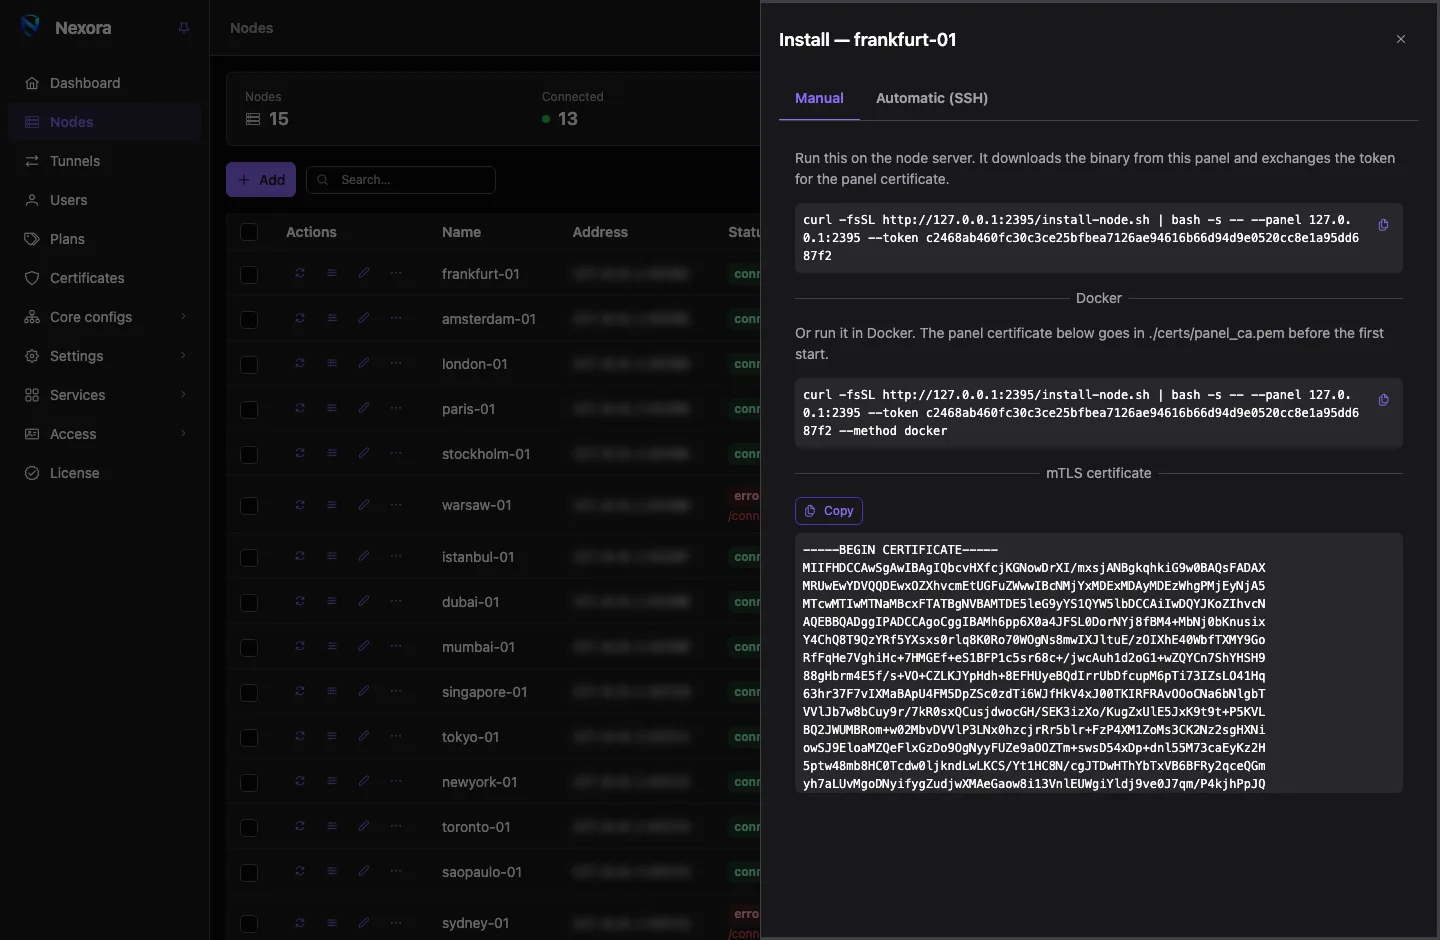
Open Install on the node. Starting an install saves the node first.
On the Manual tab, copy the command. It looks like this:
bashcurl -fsSL https://PANEL/install-node.sh | bash -s -- --panel PANEL --token TOKENRun it as root on the node's server.
A panel on its own self-signed certificate
The setup wizard starts the panel on a self-signed certificate, which curl on the node refuses. Until the panel has a certificate from Let's Encrypt or another ACME authority (Certificates), add -k to curl and --insecure to the script:
curl -fsSLk https://PANEL/install-node.sh | bash -s -- --panel PANEL --token TOKEN --insecureA panel on plain HTTP cannot use this command at all; use the automatic install over SSH instead.
In under a minute it:
- downloads the node binary from your panel, not from the internet;
- trades the token for the panel's certificate. The token works once and expires;
- makes the node's own certificate;
- writes
/opt/nexora-node/config.jsonand a service, and starts it.
The panel then connects. It remembers the node's certificate on that first connection and accepts only that one afterwards, and the node accepts only the panel. Nothing else can use port 62050.
The node shows Connected on the Nodes page. It serves nothing until it has a Template: edit the node and choose one in its template field. Your first template is made in Your first user in ten minutes.
Install automatically over SSH
The panel can do all of this itself. In the node's Install drawer, switch to Automatic (SSH):
- Give the SSH host, SSH port, User, and a Password or Private key. A user other than root needs sudo.
- Press Detect. The panel reports the server's system, architecture, whether it has systemd or Docker, and what is already installed, then shows its plan.
- Press Install. The output streams back live.
This route uploads everything over the SSH connection: the installer, the panel's certificate and the node binary. The server needs no route to the panel and no token.
The credentials are used for that one connection and not stored. Tick Authorise the panel's key on this server to let the panel log in with its own key later, so updates need no password. Remove that access with Revoke panel key in the node's menu.
The first connection remembers the server's SSH host key. If the server later shows a different key, the panel refuses to connect and says so. When you really have replaced the machine, use Move to another server in the node's menu.
Firewall
Port 62050 accepts only the panel, but there is no reason to leave it open to everyone:
ufw allow from 203.0.113.10 to any port 62050 proto tcpIf the panel reaches the node over IPv6, the rule must name the panel's IPv6 address: an IPv4 rule does not cover an IPv6 connection.
Open the ports your users connect to after you have given the node its template, once you know which ones it uses.
Install options
Add these to the end of the command:
| Option | Effect |
|---|---|
--listen ADDR | bind the control port somewhere other than [::]:62050 |
--method script|docker | install as a systemd service or as a container (default: keep what is there) |
--source panel|github | take the binary from the panel or from a public release |
--version TAG | install a specific node release (takes it from GitHub) |
--image REF | the container image for --method docker |
--binary-url URL | download the binary from another address |
--binary-file PATH | use a binary already on this server |
--ca-file PATH | use a panel certificate already on this server instead of a token |
--insecure | do not check the panel's TLS certificate while downloading |
--detect | print what is on this server and change nothing |
--uninstall | stop and remove the node |
The panel stages binaries for amd64 and arm64. On other architectures the installer takes the node from GitHub. If the install stops with node binary not provisioned, see Troubleshooting.
Docker
The Manual tab also shows a Docker command: the same command with --method docker. The installer writes the compose file and starts the container for you.
To run the node's compose file by hand instead, save the certificate shown under mTLS certificate on the same tab as certs/panel_ca.pem, then:
git clone https://github.com/nexora-vpn/node
cd node
mkdir -p certs
cp /path/to/panel_ca.pem certs/
docker compose up -d
The node container uses host networking, so the ports of its inbounds work without editing the compose file.
IPv6
Nothing extra is needed. The node listens on IPv4 and IPv6 at once, and falls back to IPv4 on a server with IPv6 switched off. Add a node that has only an IPv6 address with the address written plainly (2001:db8::1); the panel adds brackets in links where they are needed.
Next
- Your first user in ten minutes gives the node something to serve.
- Nodes covers everything else on the Nodes page.
- Panel and node on one server if this node shares the panel's server.